Physical Address
304 North Cardinal St.
Dorchester Center, MA 02124

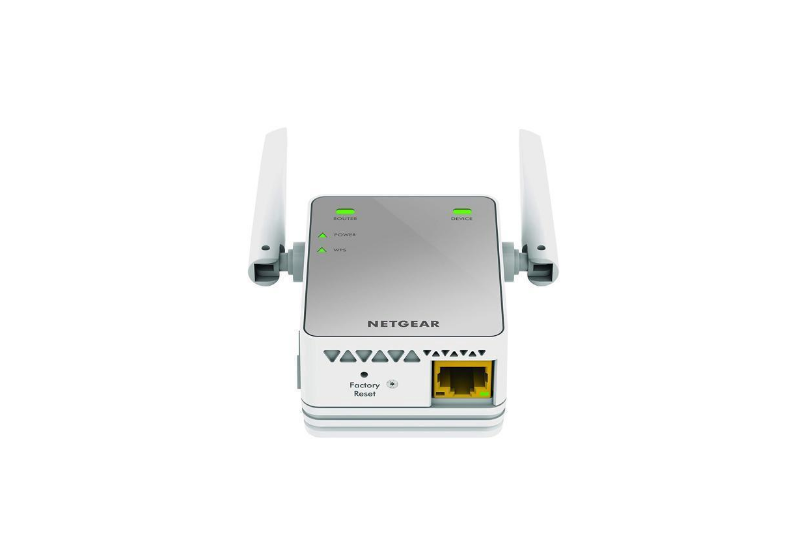
If you have ever experienced a deadzone in your home for your WiFi connection, you know how aggravating it can be. You enter a room, and the first thing you notice is that there is no internet connection. Because there was one room in my house where I could not receive a wifi signal at all, I conducted some research and came up with a solution that was simple and affordable. If you’ve already made the minimal financial commitment necessary to preserve your sanity and bought your own Netgear wifi system, great! This will walk you through the process of connecting the Negater WiFi Extender to your existing wifi router. So let’s get started:
In the event that you have been following the steps outlined in the user handbook, we will now configure the extender by making use of the Netgear Installation Assistant.
1. Connect the Netgear extender to the wireless connection that is already present on your PC. The steps necessary to do this task will seem slightly different depending on the operating system that is installed on your computer. To access the network signal in Windows 10, click on the icon located in the system tray (bottom right of your screen).

2. You will see NETGEAR EXT in the list of networks that are currently available to you. To highlight NETGEAR EXT, click on it, and then click the connect button.
3. Launch the web browser on your computer (ie: internet explorer or chrome). Simply enter www.mywifiext.net into the address box and hit the enter key to proceed.

4. Click New Extender Setup.

5. To make an account, fill out the form, and then click the next button.

6. The following page will provide you with a list of wireless networks that are available in your area. You are attempting to increase the coverage of your existing home wifi, so choose your wifi and click “next.”

7. It will now ask you for the password to your personal wireless network at home. After entering your current wifi password, click the next button.

8. You are now able to give your wifi booster a name and select a password for it. Adding _EXT to the end of the name of your already-established network is a recommended best practise. Therefore, if the name of the WiFi network in your home is now OURWIFI, it is recommended that you give the WiFi booster the name OURWIFI EXT. Because of this, the fact that it is an extender for the OURWIFI router will never be hidden from view. You also have the option to generate a new password, or you can keep the same one that you use for your currently active wifi connection. After coming up with a name and password for your network booster, click the following button.

9. The programme might now display a message to you regarding wifi charges and other related topics. If it does, then click the OK button.
10. After that, the extender’s configuration will be performed, which could take a few minutes.
11. After that, you should add any other devices that will be utilizing this booster to the newly established network that you have. If you check at the list of accessible wifi networks on your phone, for instance, you should find your brand-new OURWIFI EXT network there.
12. Utilize the password that you developed in order to connect to it. Repeat this process for any additional mobile devices, desktops, or tablets that you intend to use with the booster. (It is not absolutely necessary to connect all of them at this time because you may always connect additional devices at a later time.)
13. Check the box to indicate that you are finished connecting devices, and then click the Continue button.
14. You are about to see a pop-up that will ask you if you would like to add the NETGEAR page as a bookmark to your browser. You can either click OK or cancel.
15. After that, a page for registering will load. You have the option to register your device at this time or to skip the process and return to it at a later time.

In general, NETGEAR wireless extenders are “universal” extenders. This indicates that they are compatible with the overwhelming majority of wireless routers now available on the market, regardless of whether the router was purchased separately or was provided by an Internet service provider (ISP).
In order to broaden the coverage of your wireless network, you will need to connect a Wi-Fi extender to your existing router. You may easily extend the coverage area by positioning the Wi-Fi extender in an area where the signals are weakest, which allows you to do so. Because of this, you need to position a Wi-Fi extender in between your router and any standalone devices, such as your cellphones.
The vast majority of recently released WiFi gadgets automatically join to the network with the highest available signal strength. It’s possible that some WiFi devices can’t accomplish this at all, or that they need further configuration in order to. Before moving on with the process, it is strongly suggested that you check the WiFi connection capability of your devices.
It is necessary to establish a wired LAN connection between a WiFi Extender and the primary router in order for the WiFi Extender to be useful. The vast majority of people do not behave in this manner. When an Extender is equipped with a wired connection, it transforms into a strong access point.
The following steps must be taken in order to reconnect your NETGEAR WiFi range extender through Ethernet:
You can do this by using an Ethernet cable to connect your PC to the range extender. Begin by opening a web browser on your personal computer. Simply enter http://mywifiext.net into the address bar of your internet browser. Enter or click the Search button.